Deleted File Recovery Software - Free Download..!
- Robust software that retrieves lost or deleted folders containing documents, pictures, videos, music files, etc.
- Brings back permanently deleted or lost after accidental formatting, shift + delete, emptying recycle bin or trash, drive corruption, partition deletion, Windows or Mac OS reinstallation, etc.
- It also lets users preview the restored folders after the scan operation.
- Efficiently works with system drives, external hard drives, USB flash drives, SSD drives, FireWire drives, etc.
Have you unintentionally deleted some of the important project files from your computer? Thinking if it possible to easily get back erased file and folders without any tedious process? If yes, it is too simple to restore any deleted or lost folders by using highly-rated software known as- Folder Restoration software. This easy-to-use software brings back all the crucial file and folders deleted from the computer within a few minutes.
Deleted important files and folders
A file is a resource for storing information on the computer. A file can be stored on the system hard drive based on their file name, date, size, and file type. But, sometimes you may somehow end up deleting or losing important files and folders from your computer due to numerous reasons. Let's look around what causes file loss from Windows/Mac machines-
- Emptied recycle bin or trash: When you will select a particular file and apply "Shift + Delete" or "Command + Shift + Delete" option will lead to permanent deletion of files.
- Bypassing recycle bin/trash: If the size of the deleted file exceeds the maximum file size limit, then this will lead to bypassing of recycle bin or trash making the entire files completely inaccessible.
- Virus attacks: The files are susceptible loss when you will download files from the internet, without any antivirus protection installed to your system. This can make the files go missing, deleted or unreadable.
- Improper system shutdown: While accessing file and folders from the computer then at a sudden if a power failure occurs. This will corrupt the files/folders.
To easily overcome these problems you need to employ the Folder Recovery software- the award-winning tool. This application performs rigorous scanning of the hard drive to rescue deleted files such as audio, video, documents, spreadsheets, animations, etc. based on their unique signatures.
The best file recovery software for Windows and Macintosh
The Folder Recovery Tool features a simple user interface that helps even novice users to carry out the file or the folder recovery process on their systems. One can also utilize this very application to bring back files from various internal and external drives including- external HDD, USB flash drive, SSD, FireWire drives, etc. The Folder Recovery program is a read-only tool that assures no damages or modifications to the original file content. Moreover, you can run this application on any edition of Windows and Macintosh OSX.
How to Recover Deleted & Lost Files?
Step 1: Download and install the Folder Recovery application on your computer. After launching the software you will get a welcome screen with three different options. Among them click on "Recover Files" option.
Step 2: Locate the drive from where the files or folders were deleted or lost. Hit on the Scan button.
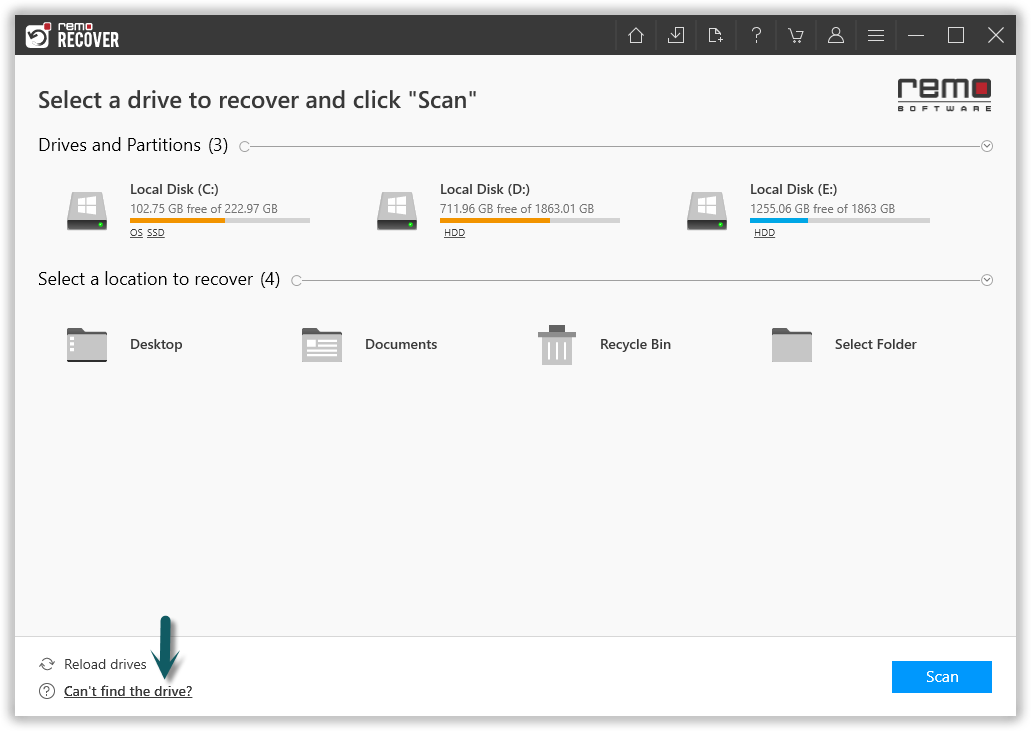
Figure 1: Recover Partitions/Drives
Step 3: It takes a while to apply a complete scan on the drive. Wait for the scan operation to complete.
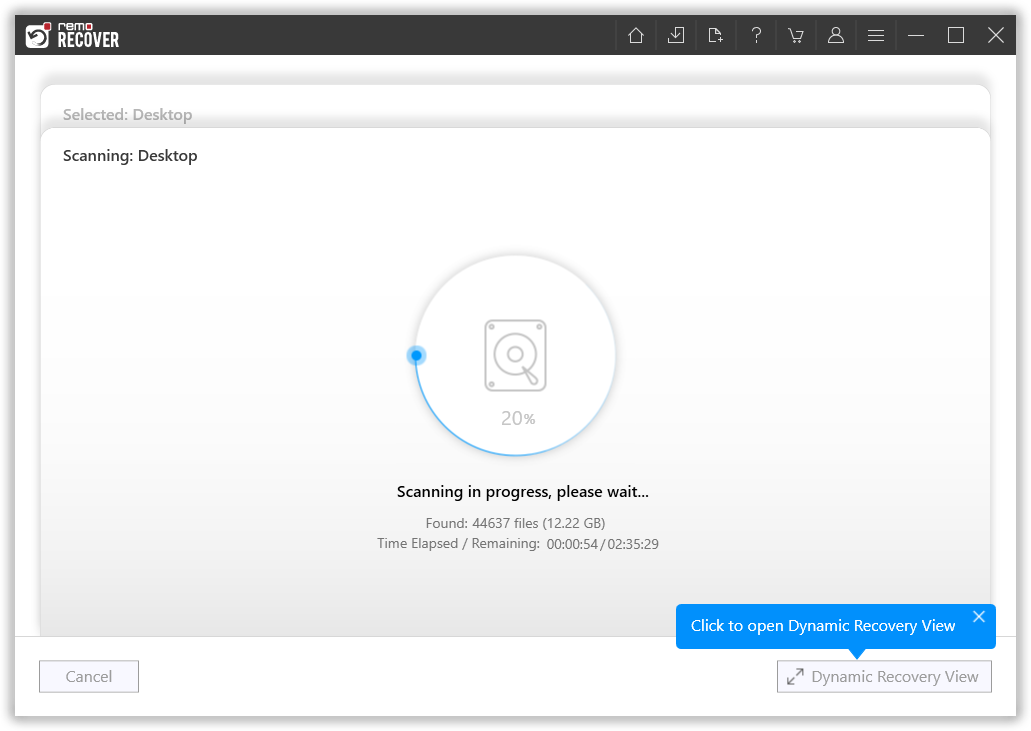
Figure 2: Scanning for Folders
Step 4: Once the scanning process is complete, the redeemed files can be viewed using "File Type View"/"Data View" option.
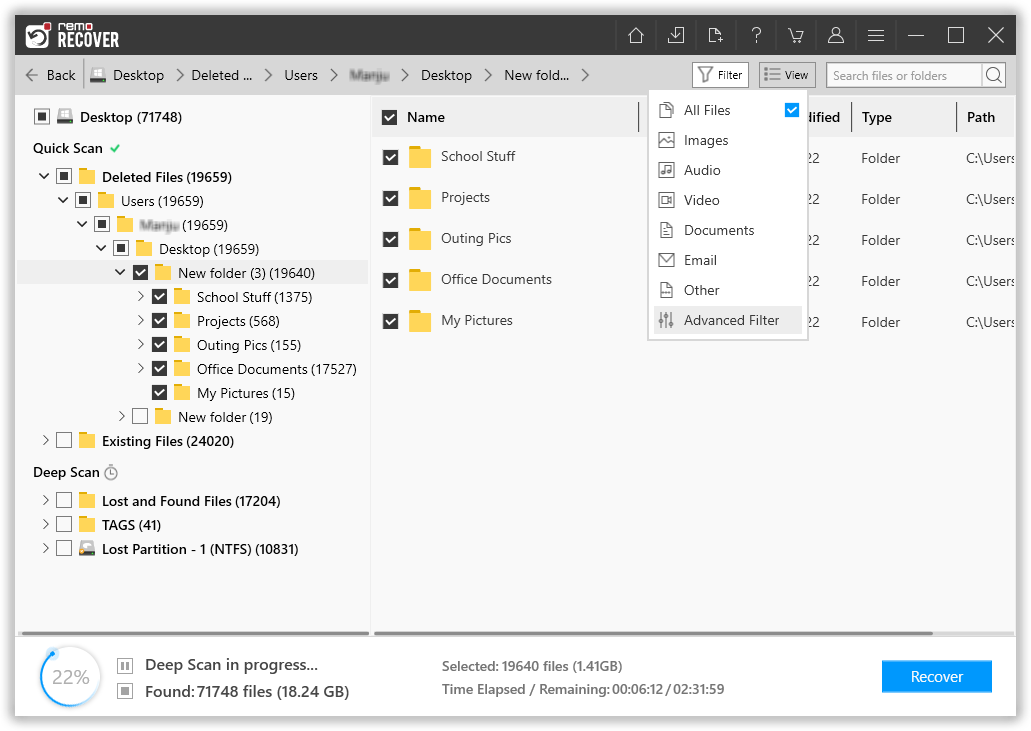
Figure 3: Recovered Folders
Step 5: Then select "Preview" option to view rescued files prior to saving.
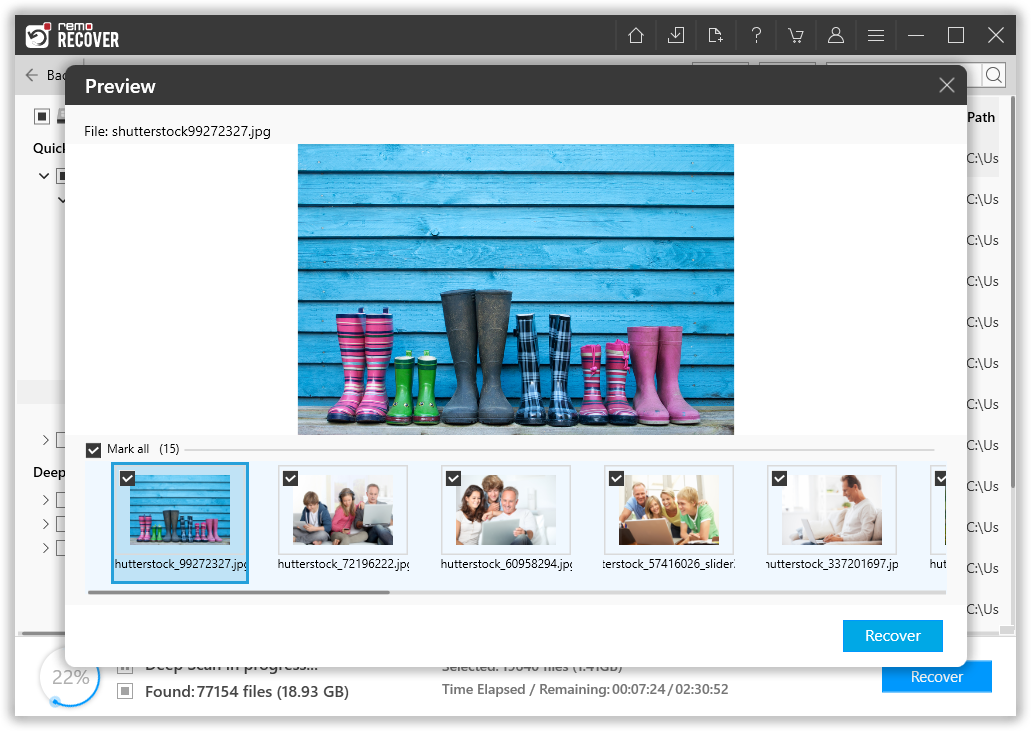
Figure 4: Preview Window
Step 6: Use the "Save" option to save scanned information by activating the licensed version of the software.
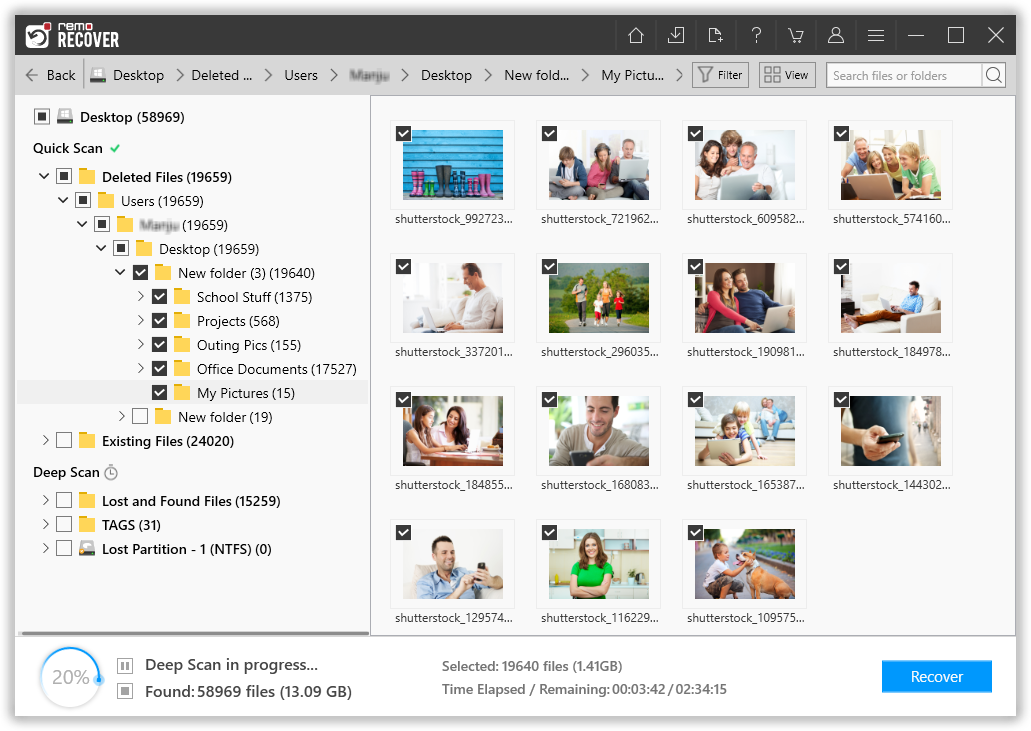
Figure 5: Save Recovered Folders